
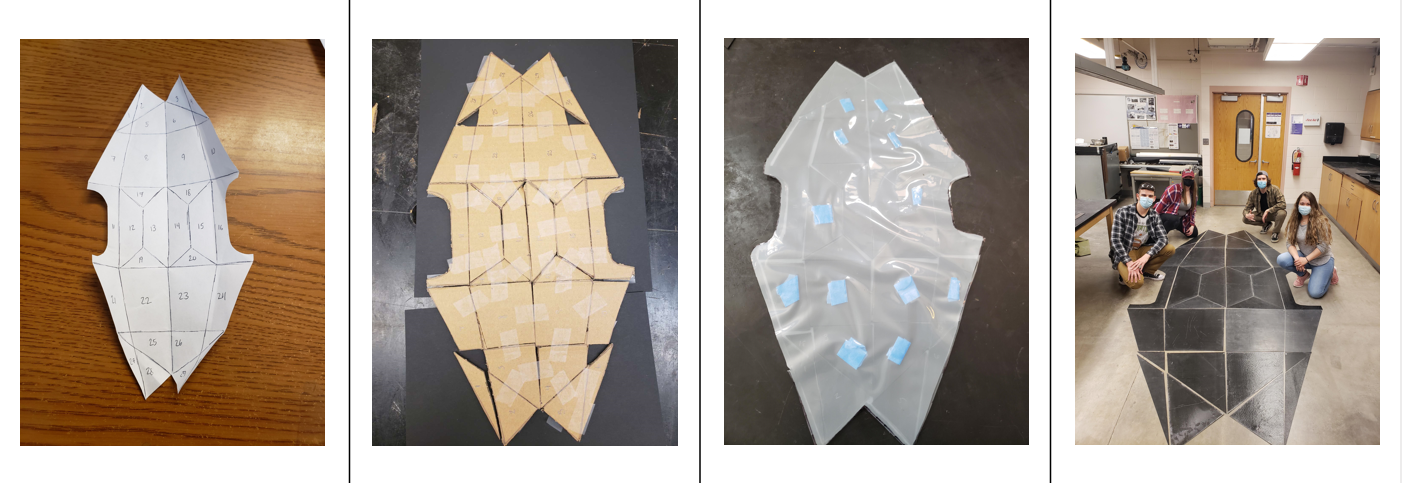
We began by printing out the general shape for the kayak and holding several "arts and crafts sessions" to try and work out the fold lines. Once the idea for those was set, we began making several progressively larger models. Pictured are the paper, cardboard, and mounting board in peel ply versions. Once satisfied that the lines would work, we produced the full sized panels.
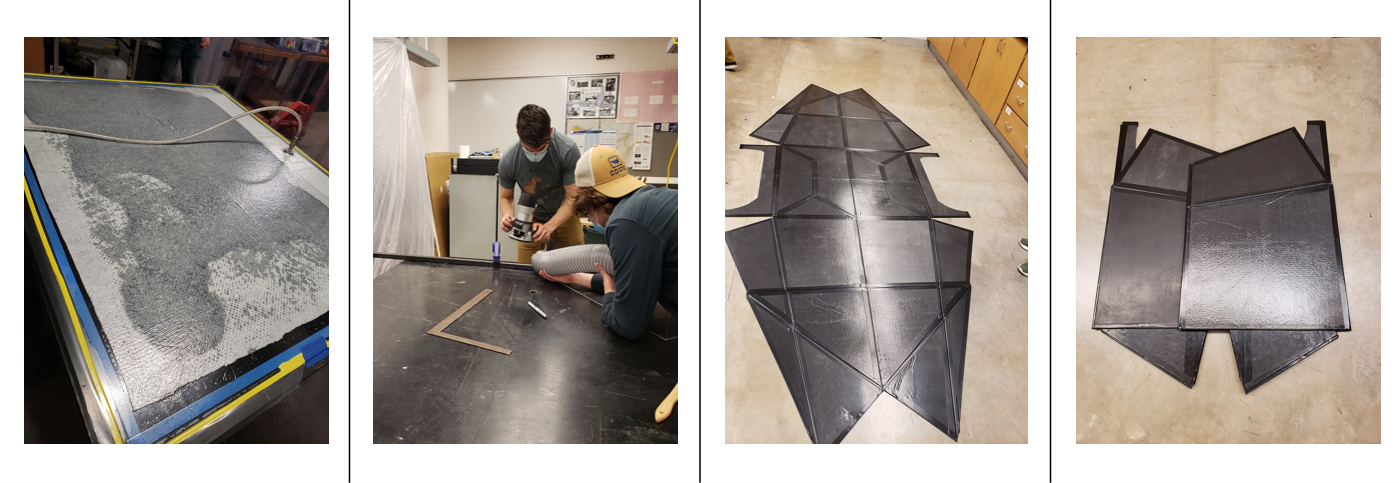
The panels were constructed using 4 plies of glass fiber sandwiched between 2 layers of carbon fabric and held together by an aerospace grade epoxy. Hand lay-up was used to make 9 large templates with large free-standing table tops used for the tooling. The 34 individual panels were then traced and cut out using a router before sanding down the edges. Weather-proof Gorilla tape was used to adhere the panels to a fixed shape and reinforce the fold lines.
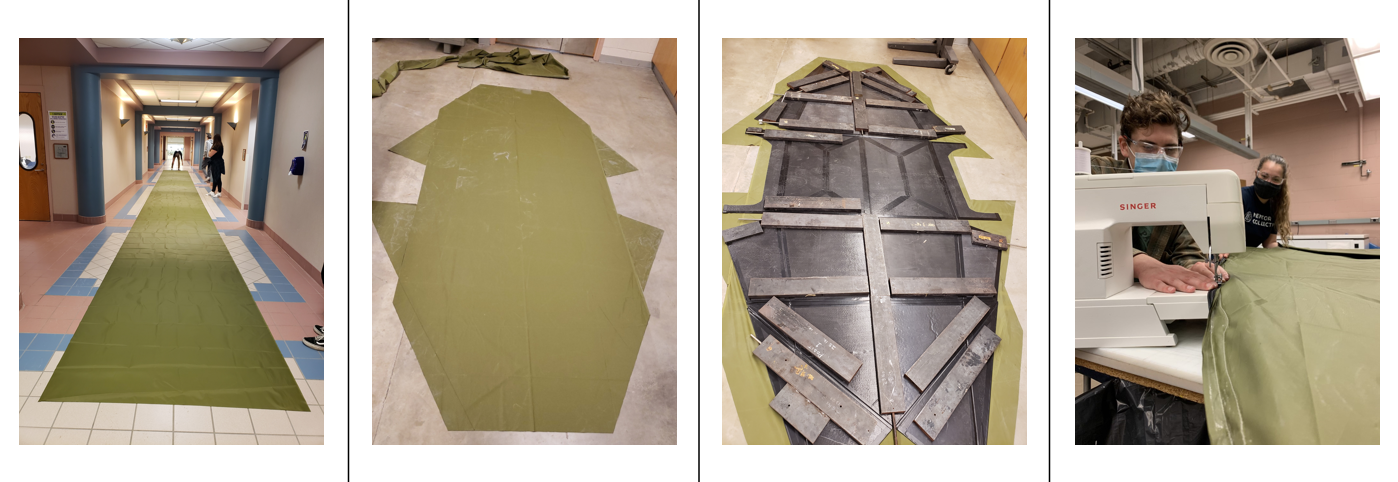
Next, the silicone coated polyester ripstop "skin" was cut to shape and adhered to both sides of the panels using epoxy. The edges were sewn together and the seams sealed with silicone seam sealant to prevent leaking. A big thank you to RipStop by the Roll for donating the skin material to us, you guys rock!
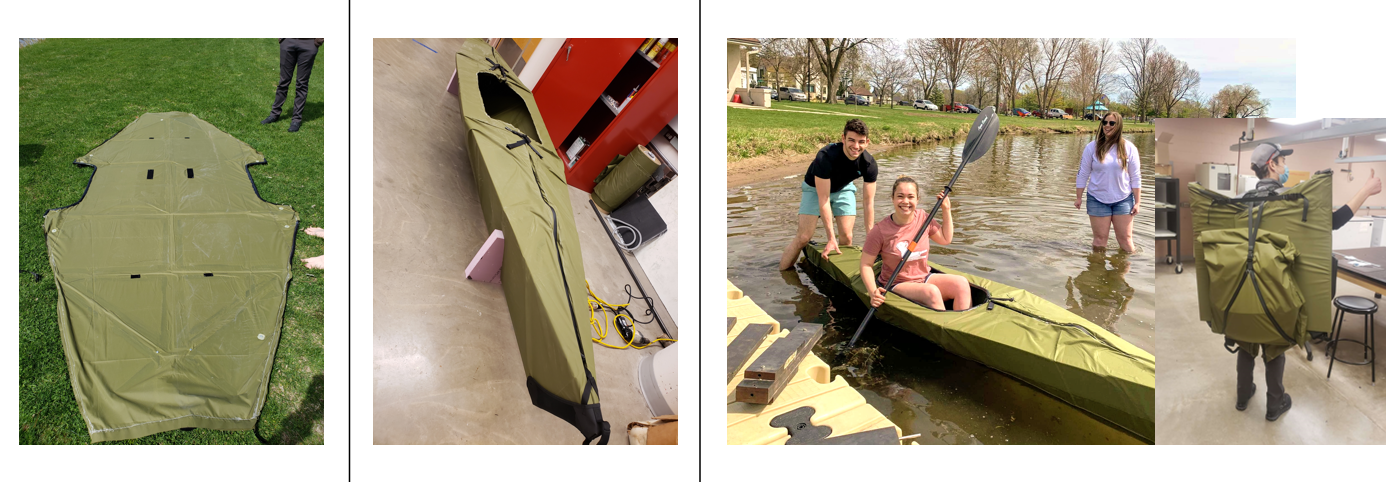
Here comes the accessories... Waterproof coil zippers with reverse mounted sliders were sewn onto the deck lines and sealed. Buckles to secure the cockpit halves were bolted in. Coaming was attached to the cockpit rim. Bulkhead and seat support panels were cut from rigid foam, painted, and epoxied, before being secured with heavy-duty velcro. Neoprene fairings were bolted into the bow and stern. An accessories bag was made to hold all loose attachments in transport mode and a backpack-like strapping system was designed to hold it and the kayak for carrying ease.